Quick Start
APO is divided into two parts:
- APO-server: The server-side component of APO.
- APO-one-agent: The client-side component of APO, used to collect information about monitored services and cluster/host information in Kubernetes clusters or virtual machine environments.
This document contains instructions for installing and running APO-server and APO-one-agent on the same Kubernetes cluster using Helm.
This document is intended for quick deployment during the POC testing phase and is a non-persistent configuration. Do not use it in production environments. For production use, it is recommended to install APO-server in an independent environment. For installation instructions, please refer to Installing APO-Server.
Prerequisites
To install APO using Helm, ensure the following steps have been completed:
- Prepare hardware resources of 8 cores and 16GB of RAM. Disk resources depend on your monitoring scale, with a minimum of 50GB.
- Install a Kubernetes server on your machine. For information on installing Kubernetes, refer to the official documentation Installing Kubernetes.
- Install the latest stable version of Helm. For information on installing Helm, refer to Installing Helm.
Setting Up the APO Helm Repository
To set up the APO Helm repository to download the correct APO Helm charts on your machine, complete the following steps:
Use the following command to add the apo Helm repository:
helm repo add apo https://clouddetail.github.io/apo-helm-charts
helm repo update apo
Deploying APO Helm Charts
Run the following command to deploy APO-server and APO-one-agent.
# BASEIP Change this to the IP address or domain name used to access the APO-server via a web browser. No port number is required. It must be the same as the node where apo-dify’s hostPath is located.
# HOSTNAME The node name specified in hostPath for apo-dify.
export BASEIP=xxx.xxx.xxx.xxx
export NODENAME=xxxx

helm install apo apo/apo -n apo --create-namespace \
--set apo-one-agent.enabled=true
--set apo-dify.nodeSelector={kubernetes.io/hostname: $NODENAME}
--set global.baseURL="http://$BASEIP"
--set apo-dify.hostPath="/data/apo/dify"
Configuration 1: By default, apo-one-agent monitors all components except for apo and Kubernetes system components. For more configurations, refer to Modify Automatic Injection Scope.
Configuration 2: The Go language Trace probe Grafana-Beyla in apo-one-agent is disabled by default. Beyla requires a system kernel version of 5.8 or higher. For details, see the Grafana-Beyla Official Documentation. To enable Grafana-Beyla to collect Go language service Trace data, add the parameter
--set apo-one-agent.grafanaBeyla.enabled=trueto the deployment command.
This document is intended for quick deployment during the POC testing phase and is a non-persistent configuration. Restarting the database component may result in data loss or service crashes. Do not use it in production environments. For production use, it is recommended to install APO-server in an independent environment. For installation instructions, please refer to Installing APO-server.
Verification
Enter the following command to check if the pods have started successfully:
kubectl get po -n apo
After successful installation, the target monitored service must be restarted!!! Encountered Issues:
- If
apo-one-agentis not ready and is in the6/7or6/8state, you can further troubleshoot by referring to the documents 《Resolving ebpf-agent Not Ready Issue》 and 《Resolving grafana-beyla Not Ready Issue》.
Accessing APO
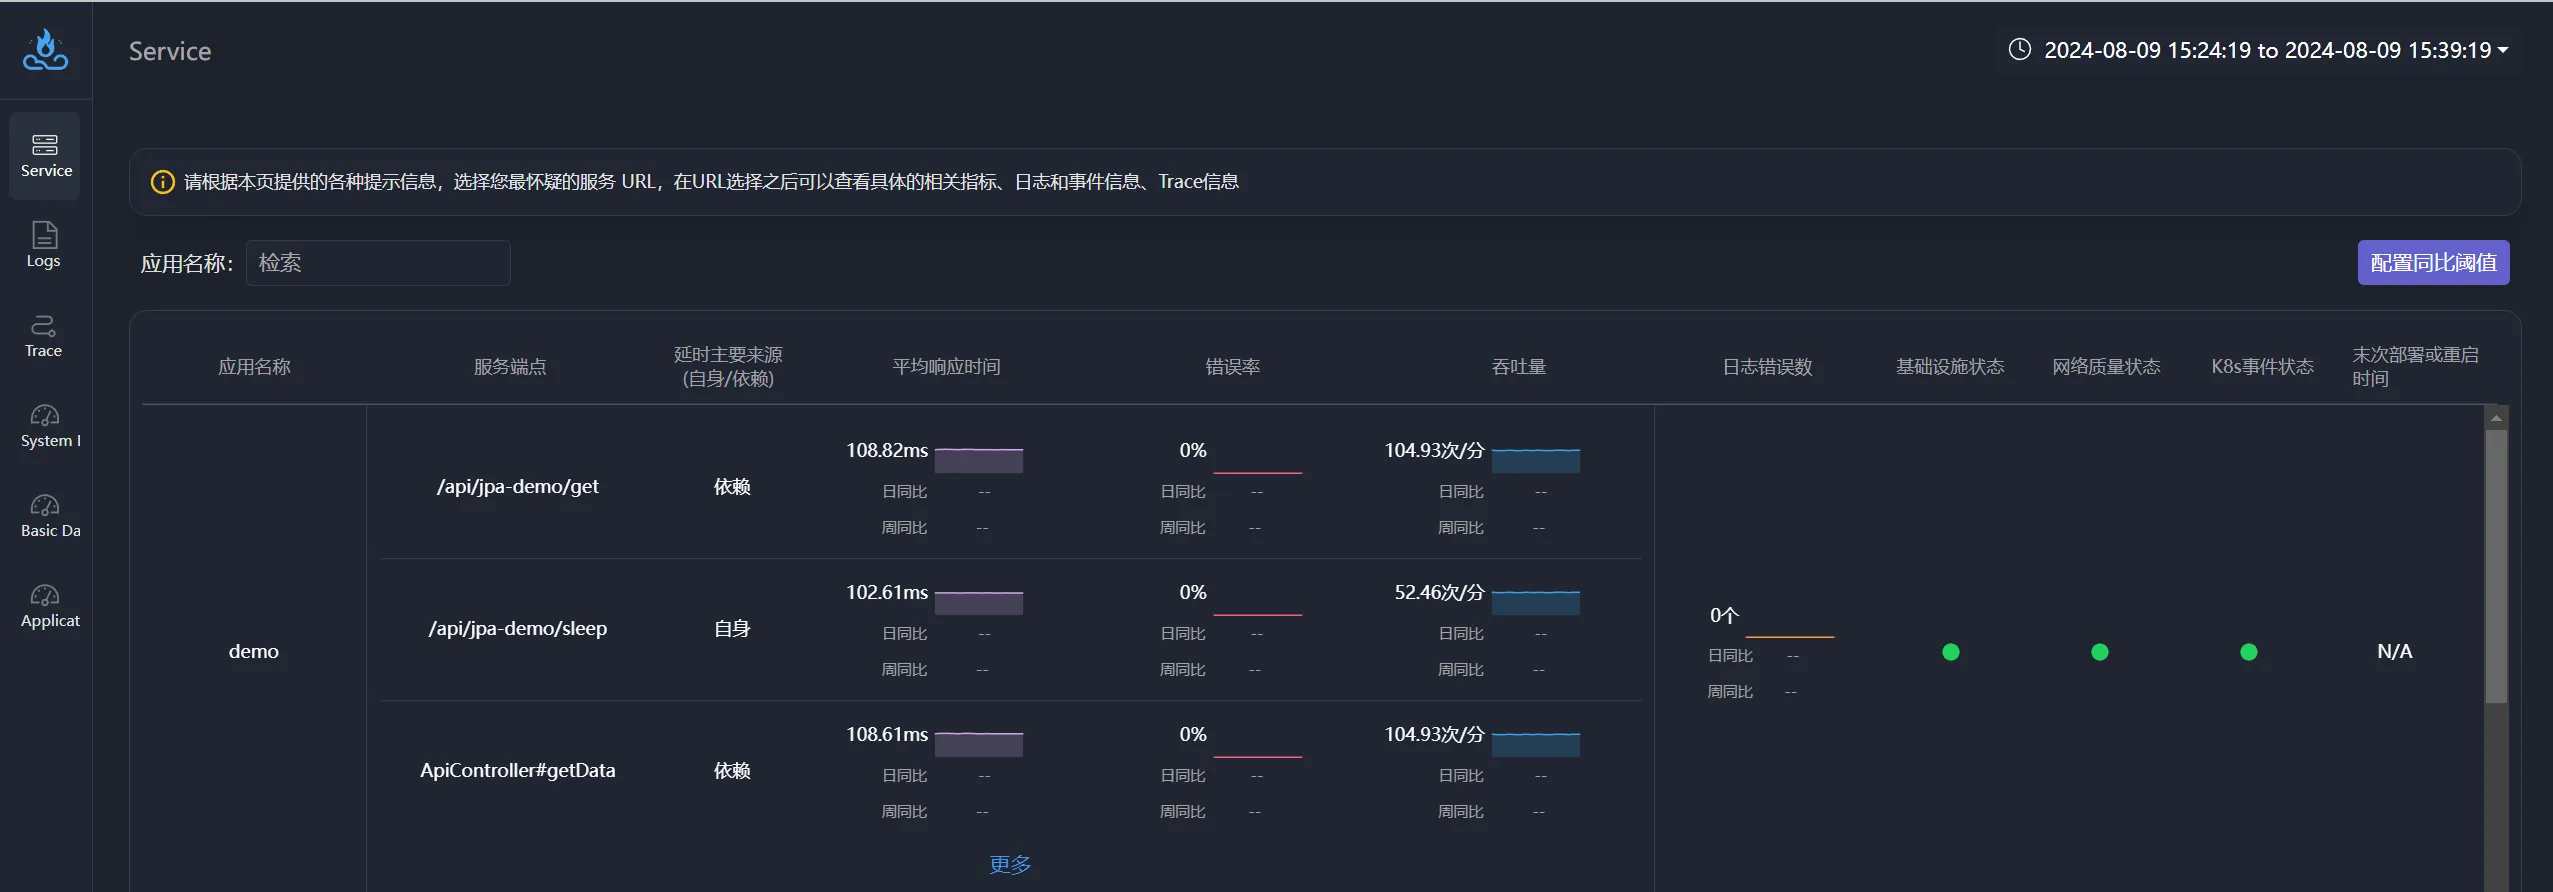
You can access APO through the following methods, where NodeIP is the IP address of any node in the cluster.
- APO Guided Observability Platform Address:
http://<NodeIP>:31364; Default Username/Password: admin/APO2024@admin

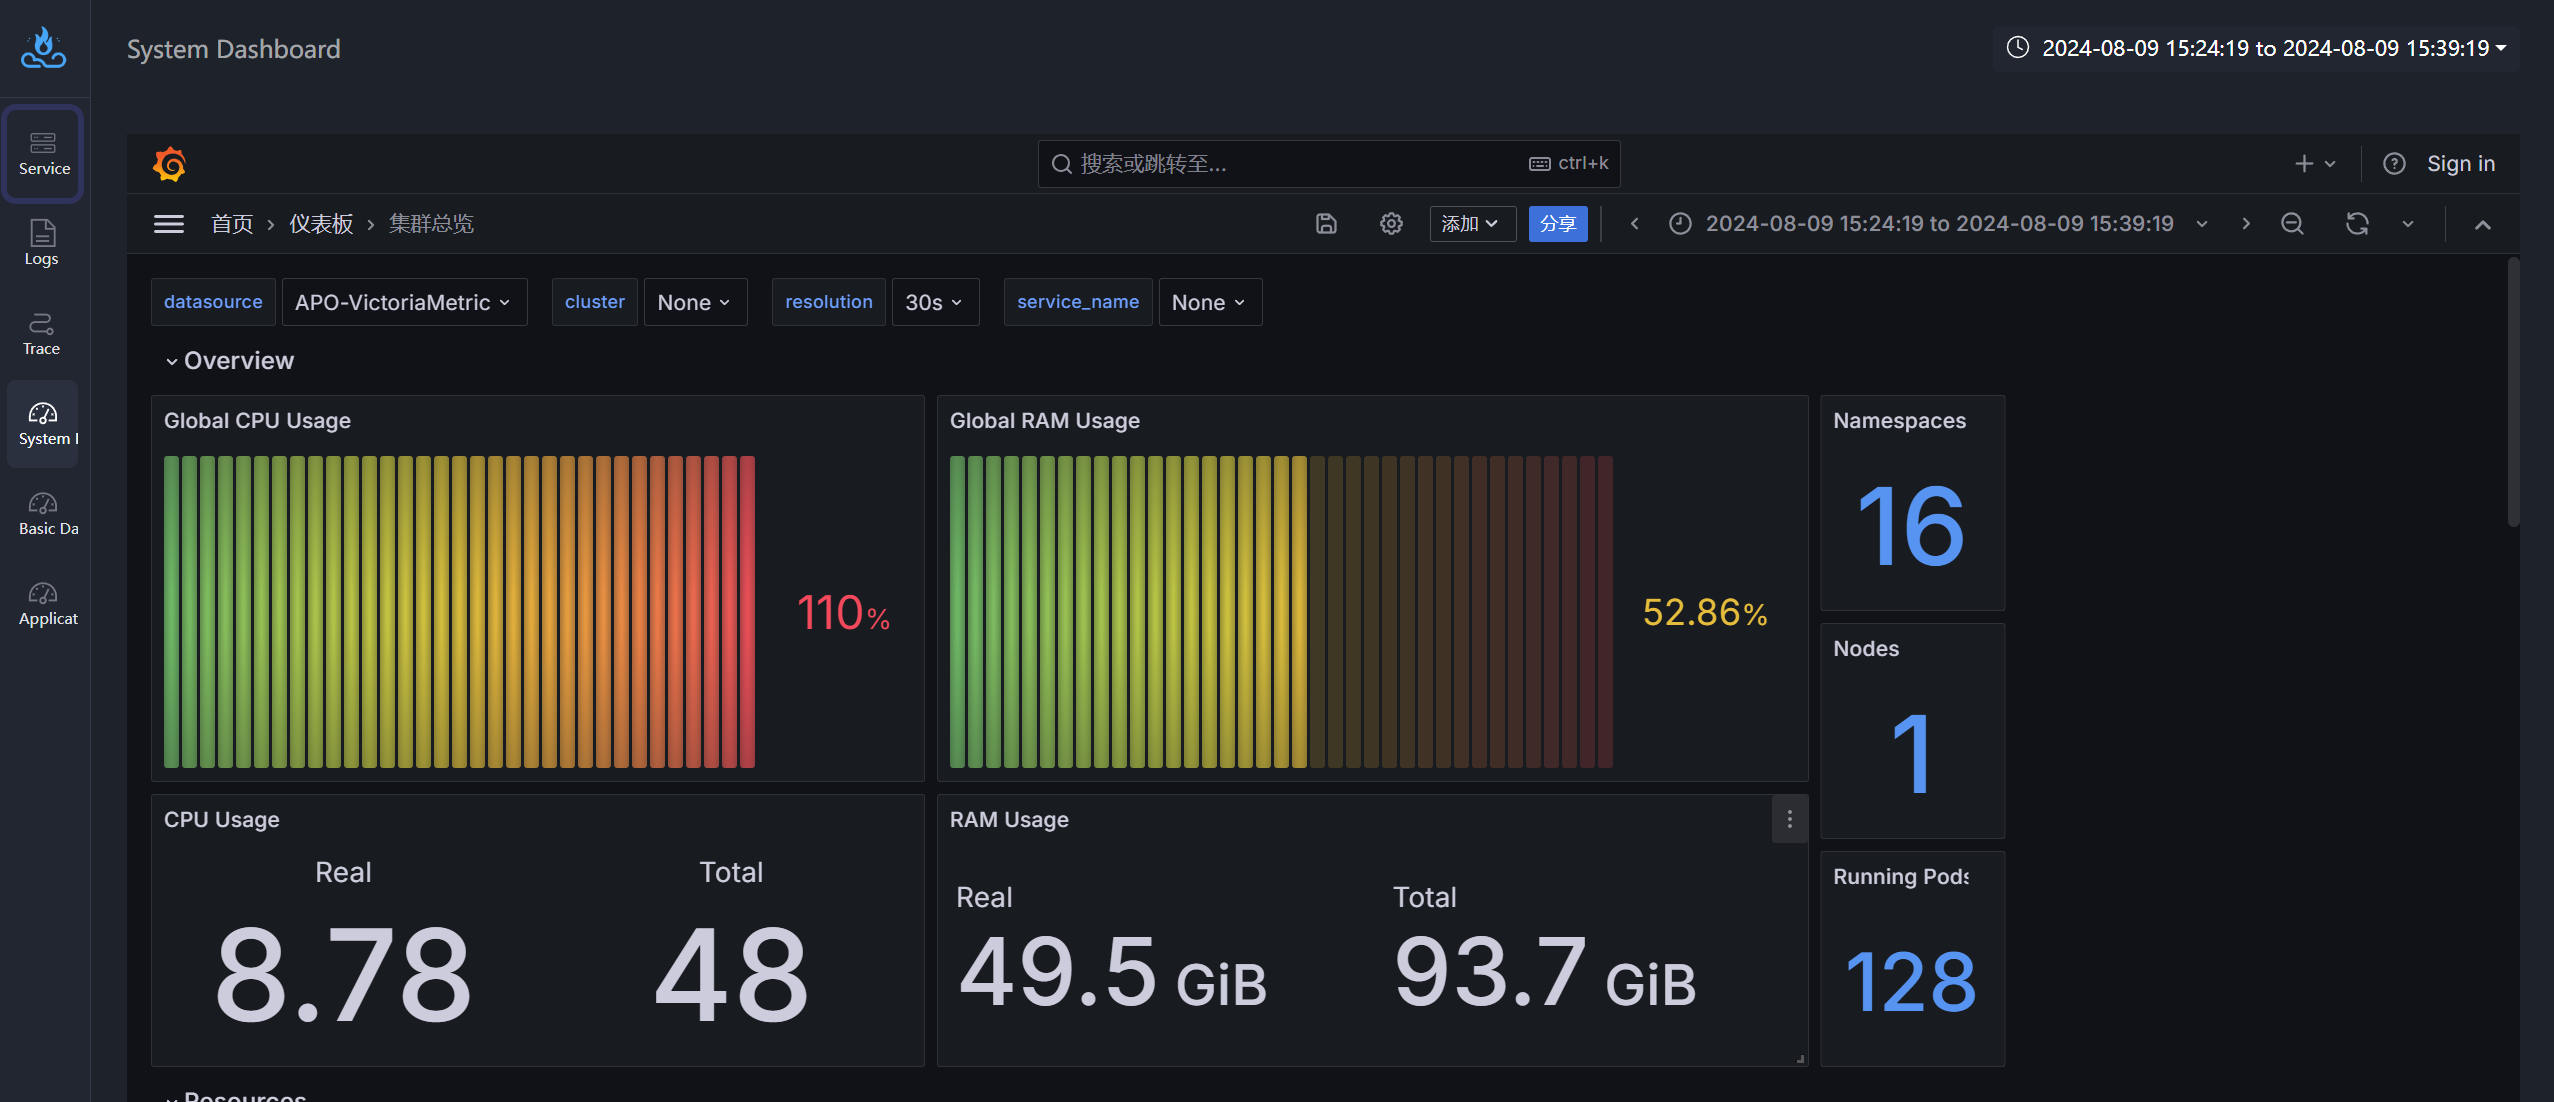
- Grafana Address:
http://<NodeIP>:31364/#/system-dashboard

Updates and Uninstallation
Updating APO Helm Charts Configuration
If your APO needs to be updated, use the following command to update:
helm upgrade apo apo/apo -n apo \
--set apo-one-agent.enabled=true
Uninstalling APO Helm Charts
kubectl delete clickhouseinstallation apo -napo
helm uninstall apo -n apo
kubectl delete ns apo
Additional Configurations
This document provides the basic configuration for APO deployment. If you need to make more configuration changes, download the values.yaml file from the APO Helm Charts repository:
helm show values apo/apo > values.yaml
Additional Installation Methods
- Installing APO-Server: It is recommended to use this installation method to isolate
APO-serverand the monitored services in different environments. - Installation APO-OneAgent: Install and run
APO-one-agent.
Deploying APO Community Edition
By default, APO installs the Enterprise Edition, which provides more data analysis capabilities compared to the Community Edition. For differences, please refer to Version Differences.
The Enterprise Edition features of APO are currently in free public beta🔥!!!
If needed, you can also use the Community Edition by adding the following parameter to the installation command:
--set global.edition=ce