Try Agentic Workflow in Observability: Automate Troubleshooting with Ease
The brand-new Agentic Workflow feature in APO version 1.5.0 ensures that your troubleshooting expertise is no longer scattered! Simply turn your everyday tasks and troubleshooting know-how into standardized workflows.
With a single click, you can reuse them, doubling your efficiency and waving goodbye to repetitive grunt work. This leaves you more time for the exciting, innovative stuff.
Even better, APO doesn’t require you to tweak your existing monitoring systems—it hooks up effortlessly and is ready to use straight out of the box.
Let’s walk you through how to get started with this feature, beginning with some handy built-in workflows from the official release!
Out-of-the-Box Workflows
We’ve fine-tuned two fantastic alert-handling tools for you: Alerts Validity Analysis and Alerts Root Cause Analysis. Think of them as your round-the-clock smart assistants, tackling alerts automatically and making your life so much easier!
1. Alerts Validity Analysis: Say Goodbye to Alert Fatigue
When you’re drowning in a sea of alert notifications, this workflow cuts through the noise. It quickly figures out which alerts need your immediate attention and which ones can wait. With this tool, you can handle critical issues with ease and feel confident setting more sensitive alert rules. When something goes wrong, it automatically gathers all the context you’ll need, setting you up perfectly for the next steps in troubleshooting.
2. Root Cause Analysis: Pinpoint the Problem in 5 Minutes
As soon as an alert goes off, this workflow jumps into gear. It automatically links up data from hosts, services, or pods, digs into abnormal metrics, and uses "Polaris Metrics" for a multi-angle root cause investigation. Whether you’re dealing with a sudden spike in service delays or weird resource ups and downs, it zeroes in on the problem fast, boosting your fault-fixing efficiency by 80%!
Stay tuned—we’ll unpack the design logic and real-world impact of these workflows in more detail later. Plus, all the built-in processes can be tweaked to match your specific business needs, letting you craft your own tailored assistant!
Step-by-Step Guide to Building Your Own Workflow
Step 1: Access the Workflow Platform
Log into APO and click "Workflows" in the left-hand menu to head to the editing page.
(Can’t see it? Double-check that you’re on version 1.5.0 or higher, and ask your administrator if they’ve turned it on under "System Management" - "Menu".)
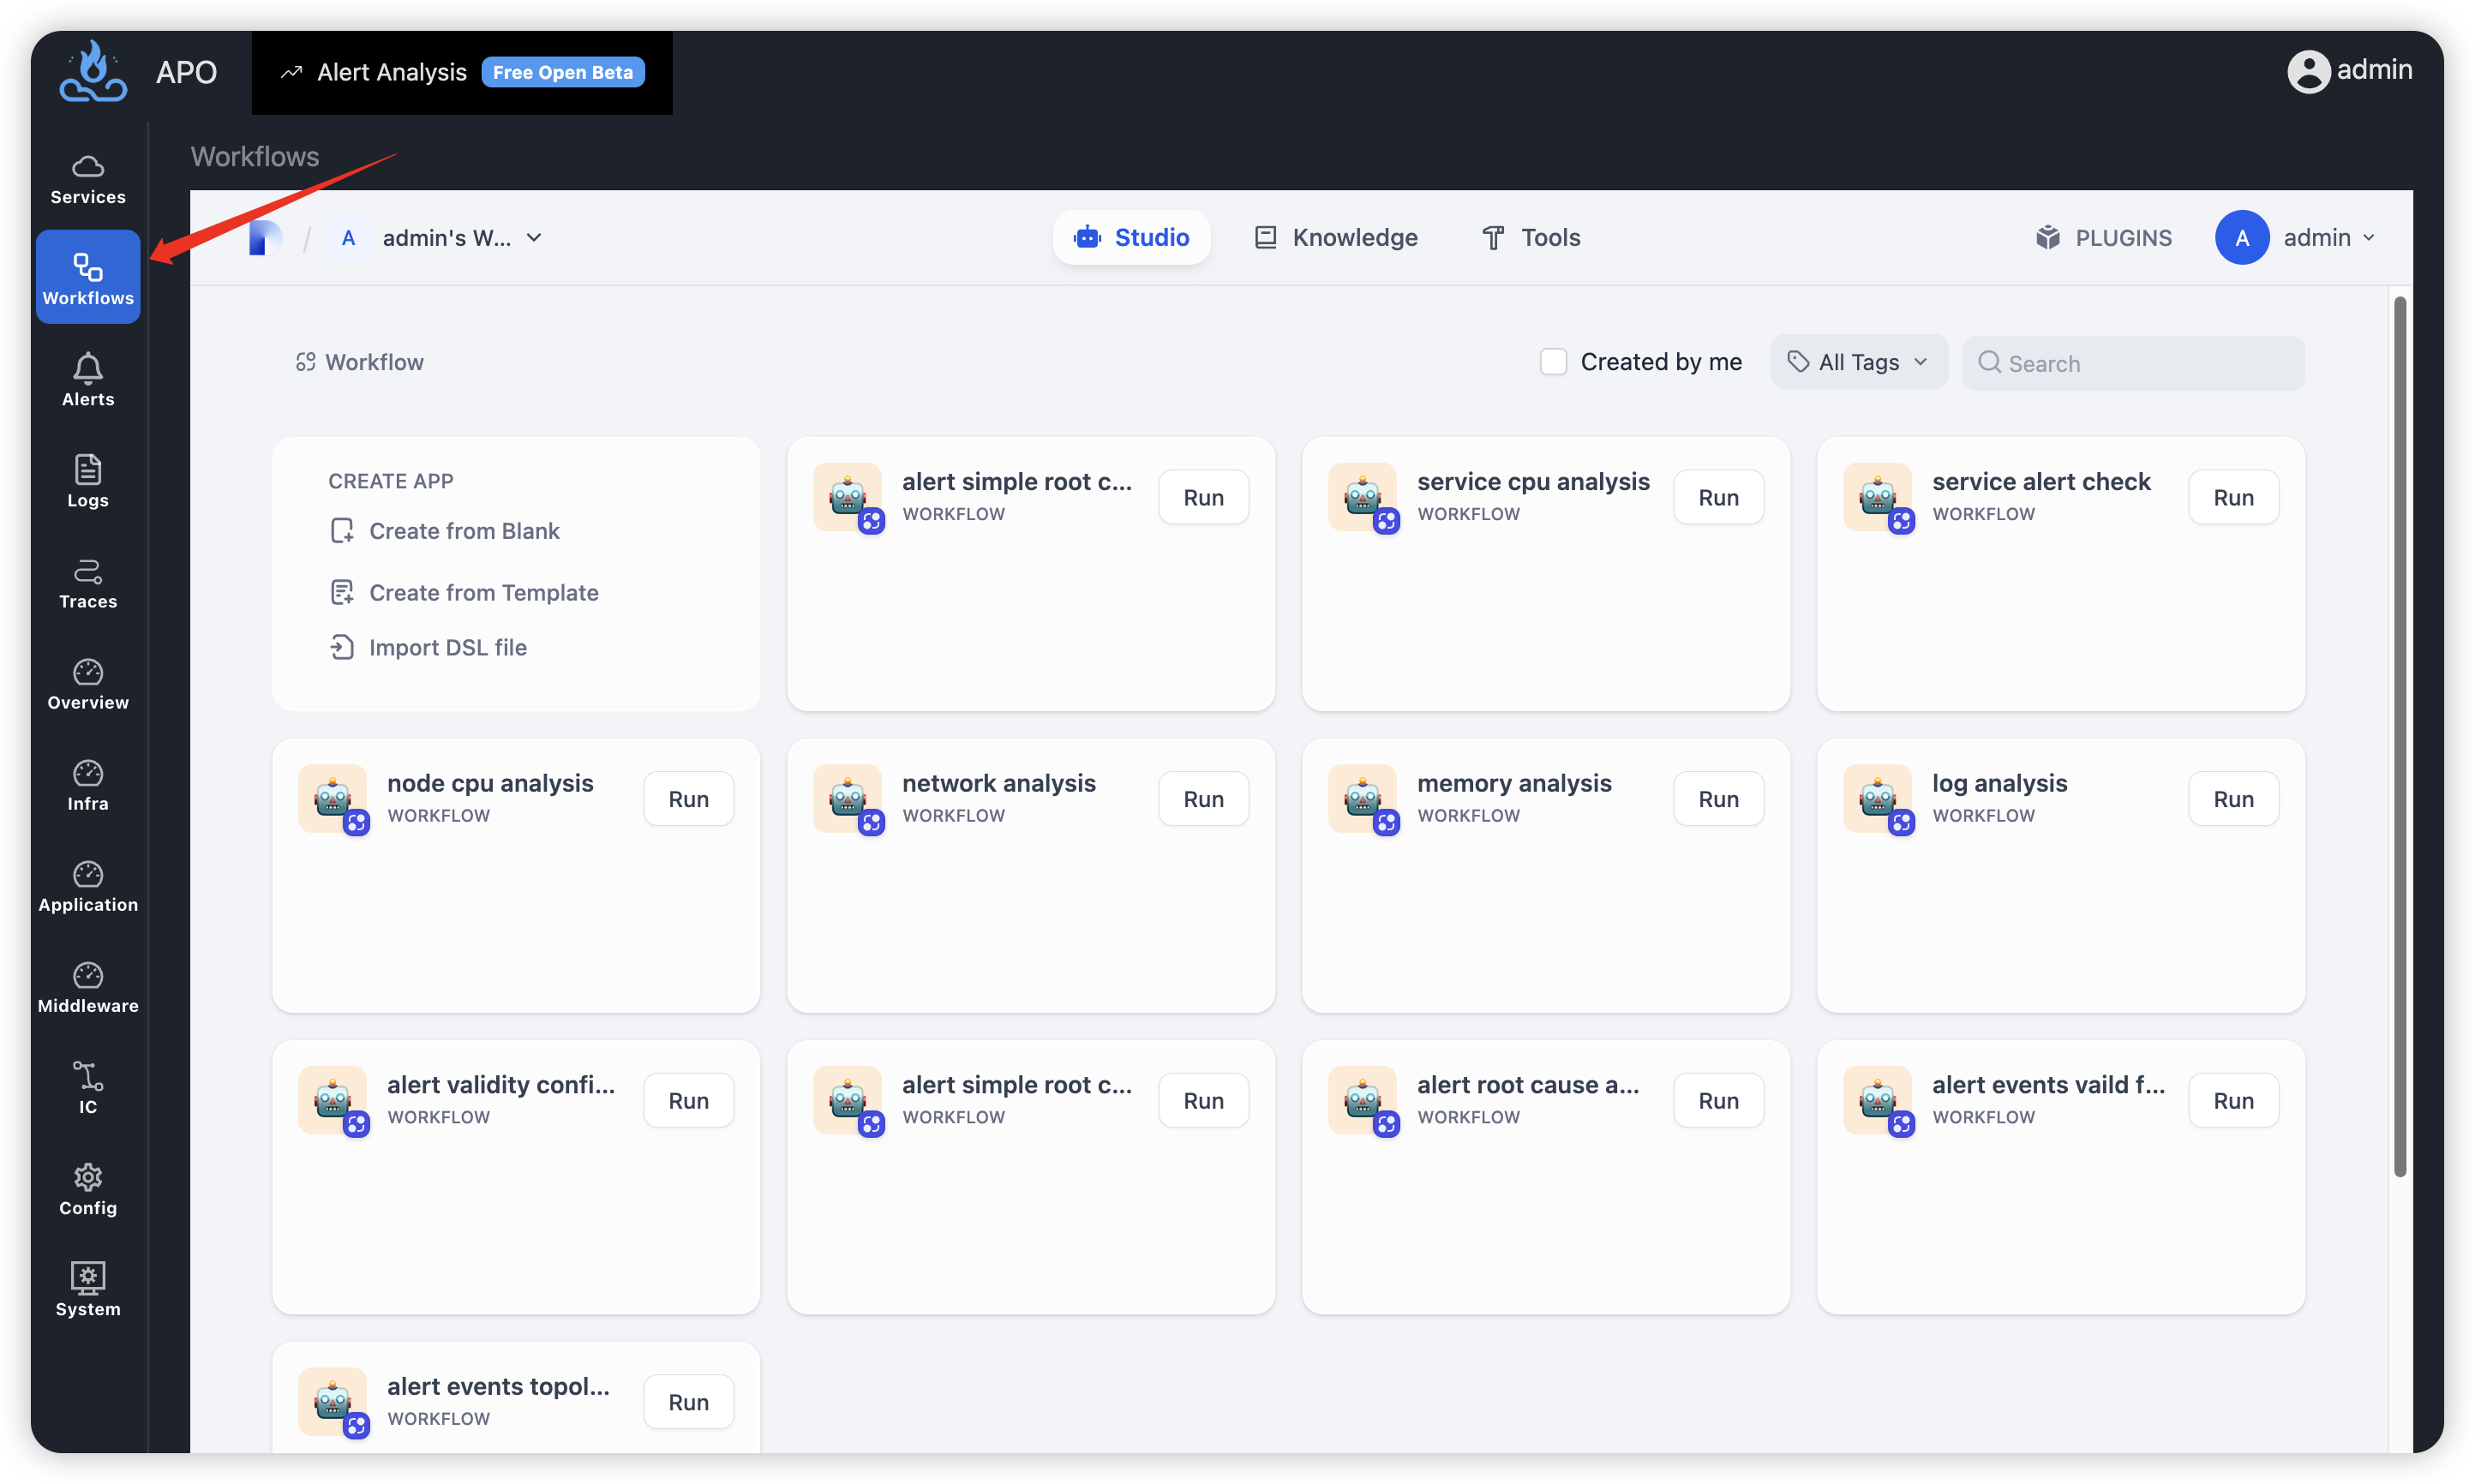
You’ll see a bunch of built-in workflows here. Feel free to tweak them to suit your needs, or start fresh and build your own based on your team’s expertise.
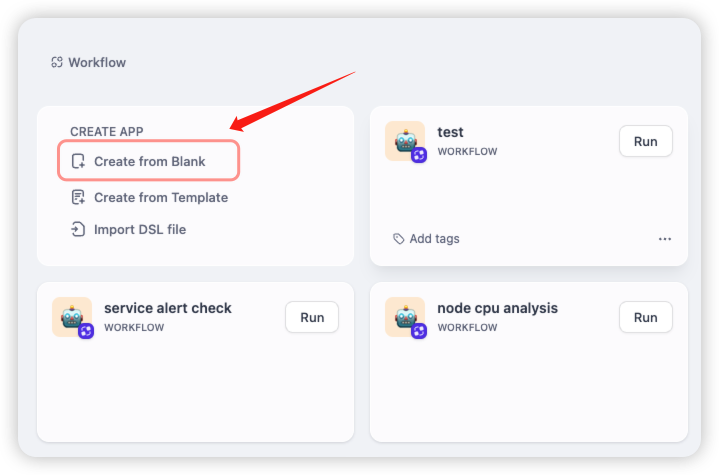
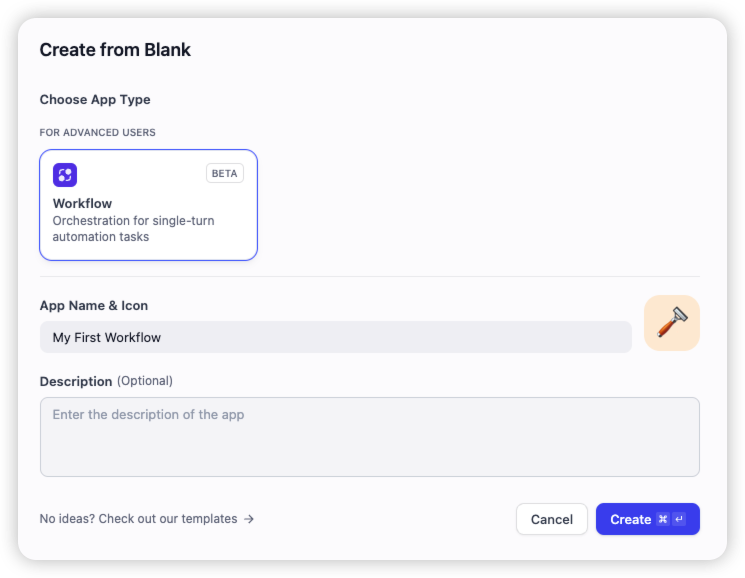
Step 2: Create a Workflow
Let’s make one from the ground up. Hit "Create from Blank," type in a name on the pop-up page, and click "Create" to jump into the workflow editing screen.
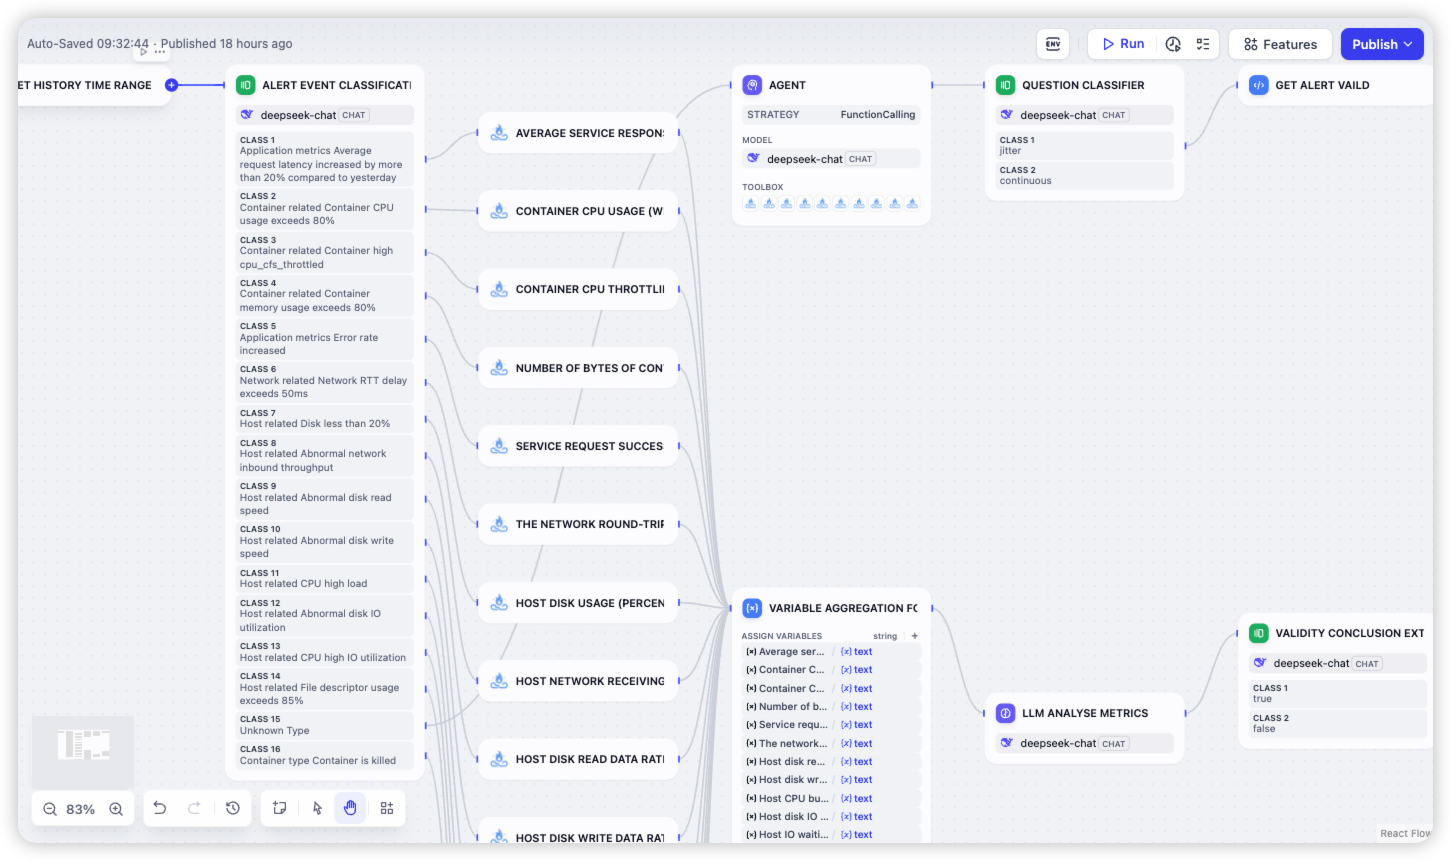
Step 3: Drag, Drop, and Connect the Flow
On the left side of the editing interface, you’ll find a library of functional blocks. Drag them onto the canvas with your mouse and mix and match them however you like—it’s as easy as stacking building blocks!
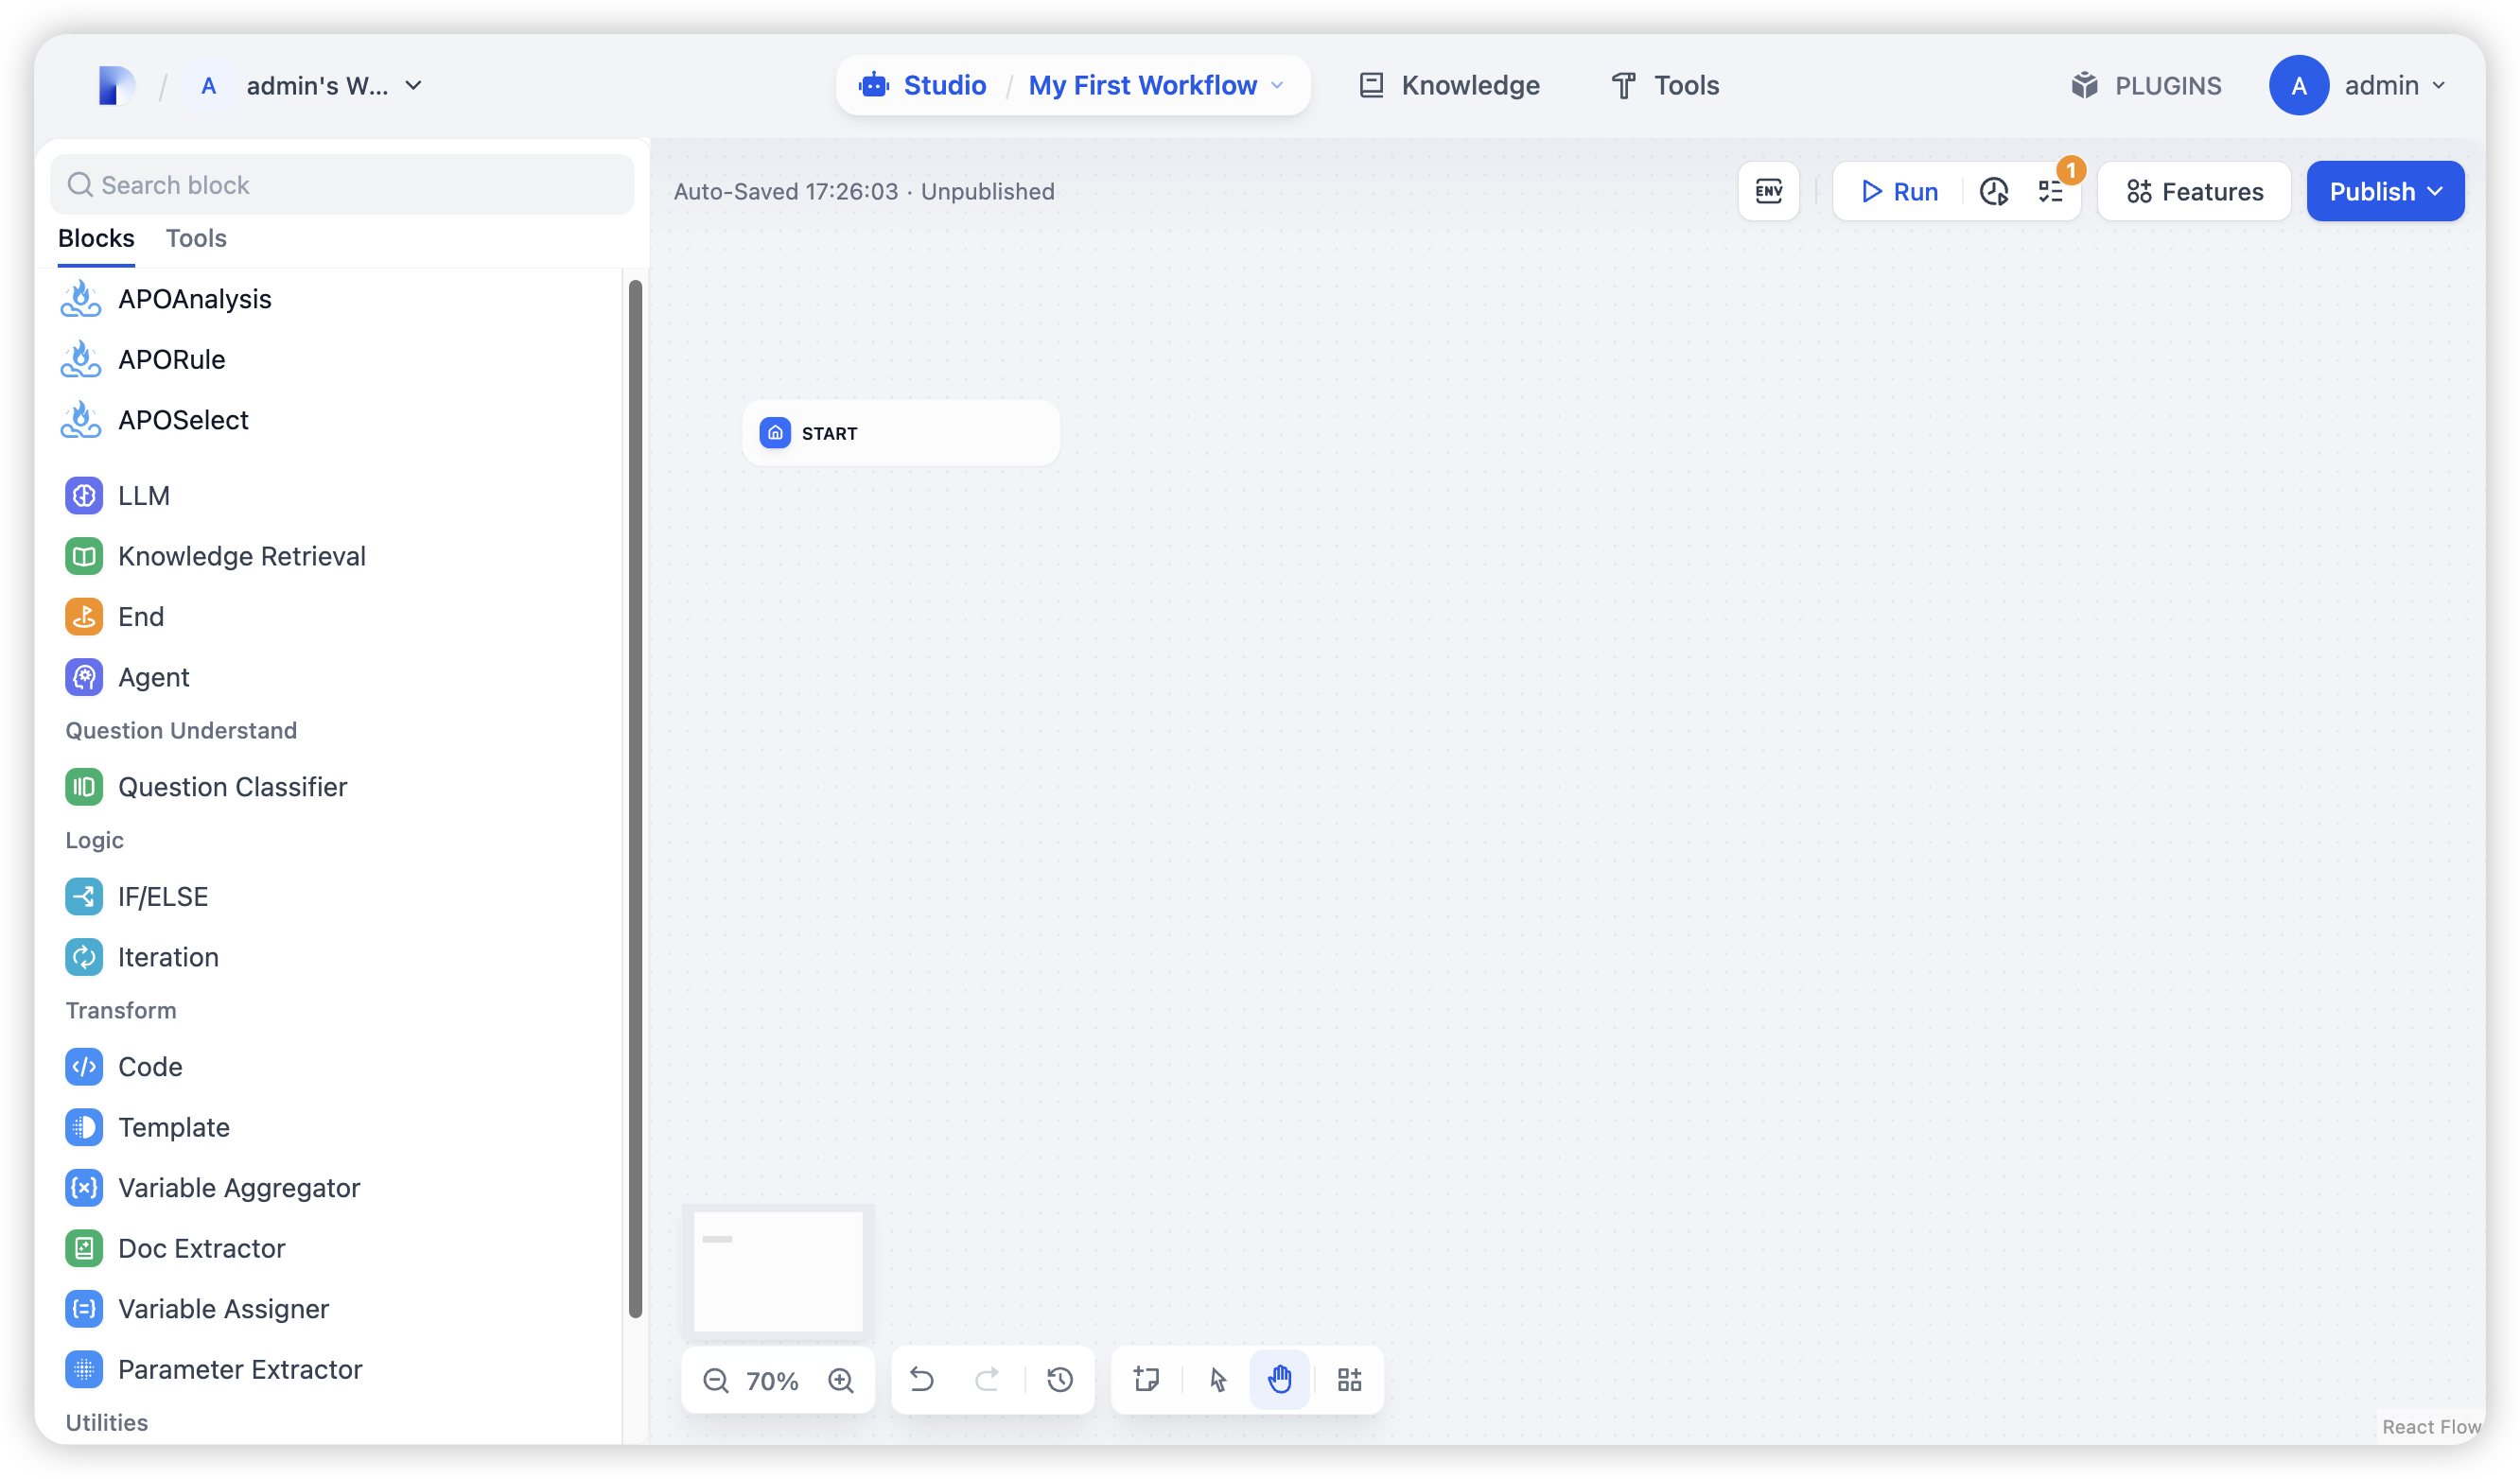
Link the nodes together, and voilà, your workflow is born. Just keep these tips in mind:
- Fill in the input parameters for each block;
- If you’re using blocks LLM, set up API permissions in the settings first;
- Use the "Checklist" to spot and fix logic issues on the fly;
- Click "Run" every now and then to test if the workflow’s doing what you want.
The APO workflow platform is built on the open-source project Dify, and you can find tons of general usage docs on their website. But here, we’ll spotlight the features APO has souped up for observability scenarios: data query blocks, anomaly detection blocks, and data validation charts.
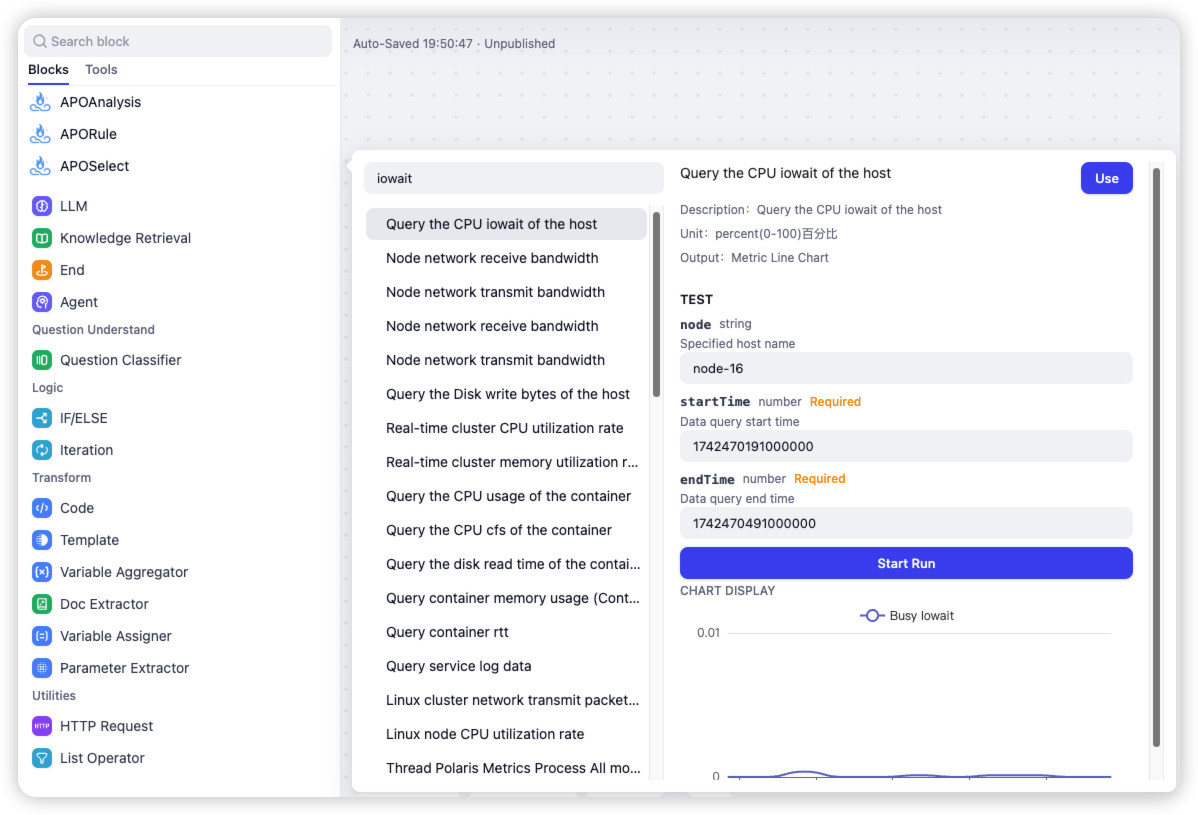
Data Query Blocks: Grab All the Data You Need with One Click
The whole point of an observability platform is to let you see and analyze data, so data querying is a workflow essential. APO has packed a variety of slick data query tools into its orchestration platform, making it a breeze to pull the data you want right into your workflow.
Search to find what you need fast, then pop in query parameters to check the current data:
Anomaly Detection Blocks: Spot Potential Issues Smartly
With APO’s built-in anomaly detection tools, you can check if your queried data looks off after pulling it in. If something’s funky, the workflow can dig deeper. Right now, it’s got tools like threshold checks, trend analysis, and quantile detection, with more goodies planned down the road.
Not keen on the built-in options? You can feed the data into a large model instead and let AI help figure out what kind of anomaly you’re dealing with—it works pretty well too!
Data Validation Chart: See Results Clearly
Looking back at your workflow’s results helps you make sense of what’s happening. APO uses charts to show observability data, making everything way easier to understand. They’ve matched each data type with the perfect chart: metrics data gets line charts to highlight trends, while traces data gets topology maps to show relationships.
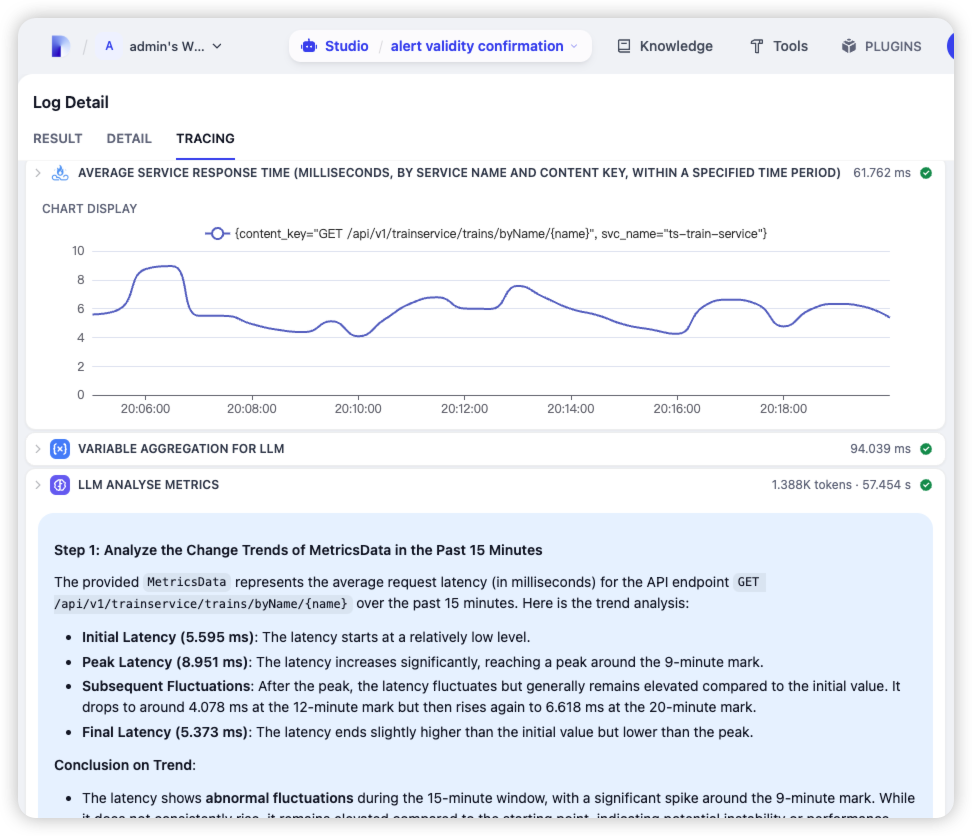 Every analysis step is laid out plainly, so you can trace your troubleshooting logic without breaking a sweat.
With Agent Workflow, APO takes troubleshooting from chaotic "firefighting" to smooth "automated governance." Go ahead and build your first workflow today—discover the fun of streamlined troubleshooting for yourself!
In the next article, we will provide a step-by-step guide on how to build an "Alert Diagnosis" workflow. Stay tuned!